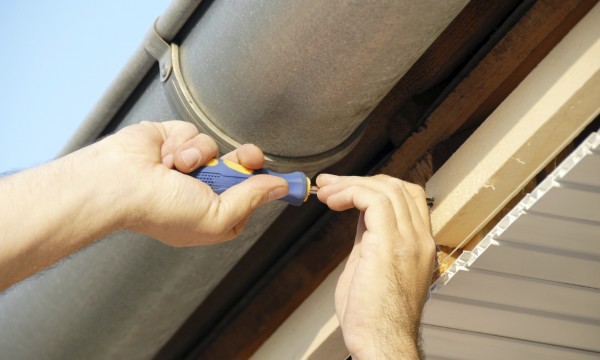
Yes, you can get a roofing professional to install new gutters on your house. You can also undertake the project yourself, armed with the right knowledge and tools.
If you don’t want your house to rot from the foundation up, you need to have rain gutters and downspouts, properly installed with the correct slope. These are designed to divert rainwater and snow melt away from the base of your house, preventing basement leaks, damage to siding, and even soil erosion.
While most people get new gutters installed by roofing professionals, it is possible as a DIY project, with the right tools and know-how.
Types of gutters
Rain gutters come in a variety of profiles, including U or half-round shapes, as well as K configurations. Residential rain gutters are usually found in 5- and 6-inch sizes (about 13 and 15 centimetres, respectively), made of aluminum, galvanized steel or, sometimes, copper.
Early aluminum gutters used to be only available in silver, but soon were painted white, and eventually came in a multitude of colours to match house siding, roof, and trim. They became nifty design items, as well as functional.
Calculate what you need
Calculate the total length of gutters needed, as well as the correct number of necessary downspouts and attachment brackets. Rain gutters should be attached to the fascia and run the entire length of the roof, ending with a downspout. A fascia bracket should be attached to every other rafter tail.
Measure the slope
Taking a line level attached to a string, calculate the slope of the eaves. All gutters should slope at least a quarter of an inch (about 6 mm) for every 10 linear feet (about 3 meters) to provide proper drainage.
Strike a level reference line and then do a second mark a quarter of an inch (about 6 mm) below the line to show the correct slope. If there are portions of the gutter that will have turns or elbows on each end, determine the length for the straight section by holding the elbows in place and marking their ends.
Cut the gutters to size
Use a combination square to mark each gutter section all the way around. Cut the pieces to length with tin snips.
Attach the gutter brackets
Brackets will either snap onto the gutters or be mounted into the face board first, depending on the type of gutters you have.
Prepare for downspouts
Use a jigsaw to cut a square opening at the appropriate place in the gutter for the downspout. Attach the downspout connector and end cap to the gutter using silicone sealant and short metal screws.
Mount the gutters
Every 18 to 24 inches (about 45 to 60 cm), mount a bracket to the face board, using a stainless steel lag screw long enough to penetrate the face board at least 2 inches (about 5 cm).
Attach the downspouts
Attach the downspout to the gutter via the downspout connector, making sure the tapered end of the downspout is facing down and aimed in the proper direction.
Seal and dry
Make all gutter connection seams watertight with a heavy bead of sealant and allow them to dry overnight.


